
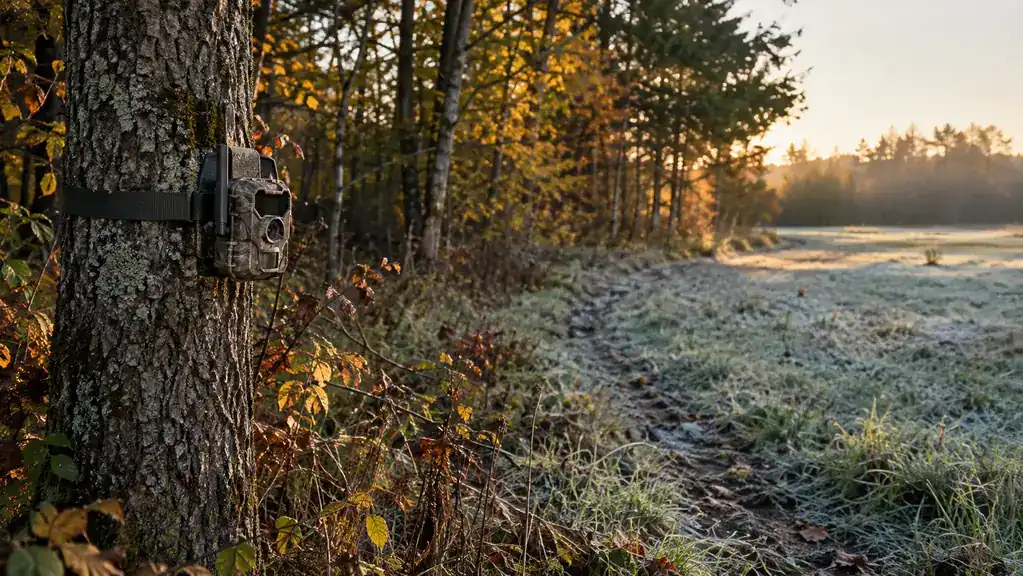
I used to scout the way my dad did. Walk the timber in September, find a couple of rubs, guess at where the bucks were bedding, and hope. I bumped deer out of their beds more times than I care to count, and the deer that survived October got a lot smarter about me. The problem was never the property. It was that I only ever saw the deer I spooked, and I never saw the ones that mattered. Every year I told myself I would scout smarter the next season, and every year I did the same thing.
The WOSPORTS Mini Trail Camera fixed that. It is not a fancy camera, and I am not going to pretend it is. It is a plain, waterproof, motion-activated camera that hangs on a tree and shows you what happens on your hunting ground when you are not there. That sounds like a small thing, and it is not. It changes how you scout completely.
See the deer that are already on your land
The WOSPORTS Mini Trail Camera hangs in about five minutes, runs for months on a set of batteries, and takes clear photos day and night with infrared night vision. It is the most useful scouting tool I own, and it has never once bumped a deer.
Amazon Check Today's Price on Amazon →The Setup, Step by Step
None of this requires a degree in wildlife biology. If you can strap a camera to a tree and read a photo, you can scout like this. The five steps below are the order I use every season. They work on a small parcel or a big farm, and they work whether you hunt public land or a place you have permission to walk.
Step 1: Choose Where the Camera Hangs
The camera only helps if it is looking at a place deer actually go. I start with the pinch points. A funnel between two thickets, a crossing on a creek, a gap in a fence line, the corner of a field where trails come together. Those are the places deer pass every single day, and one camera hung at the right pinch point sees more deer in a week than I used to see in a season of walking.
I also think about what I want to learn before I hang the camera. If I want to know which bucks are using the north end of the property, the camera goes on the trail leading into the bedding area, not on the food source itself. A camera on a food source shows you what is eating. A camera on a trail shows you where the deer are coming from and where they are going. That direction is what tells you where to set up.
Face the camera north or south if you can. A camera pointed east gets washed out at sunrise, and one pointed west blows out at sunset. That lesson cost me a month of useless photos before I learned it. If the spot is good but the sun is wrong, I either pick a different tree or accept that the early morning shots will be overexposed.
Step 2: Mount It Like You Mean It
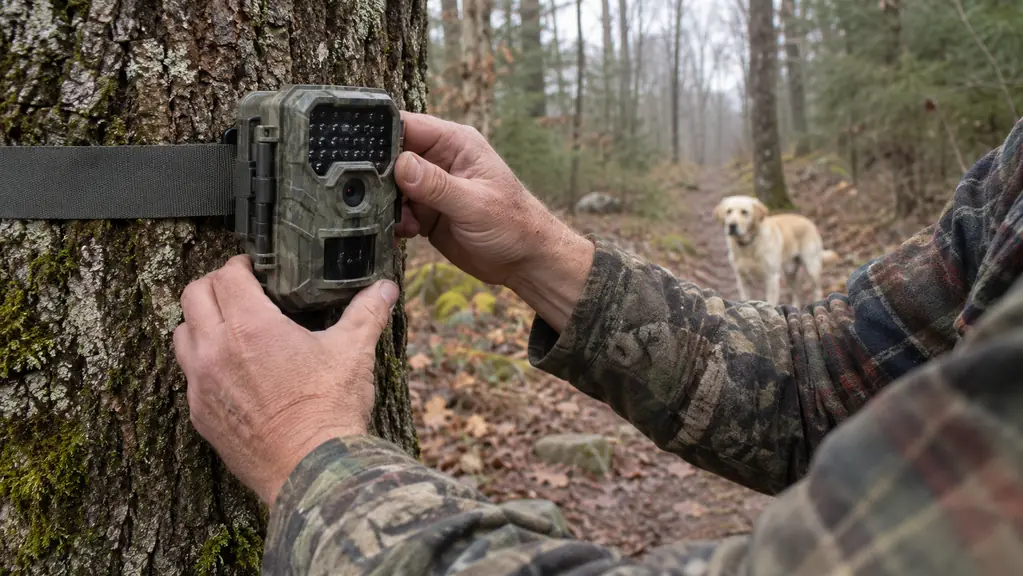
Mount the camera at about chest height on a deer, which is roughly knee height on you, and angle it slightly down the trail. Set it too high and aim it across the trail, and you get the tops of deer and a lot of empty grass. Set it too low, and every weed in front of the lens sets the sensor off.
Clear the brush in front of the camera, but do not go overboard. I cut the grass and a few low branches, just enough that the wind does not trigger the camera all night. Then I strap it tight. A camera that swings in the breeze takes a thousand pictures of nothing, and a camera that twists sideways is the same as no camera. The WOSPORTS comes with a mounting strap that is easy to work with gloves on, which matters in November.
Before you walk away, take a test photo. I wave a hand in front of the lens and check the screen. On steep ground, keep the camera level with the trail instead of level with the tree. A camera that tilts sideways takes photos of the treetops and nothing else. I use the test shot to check the horizon and nudge the camera until the trail runs level across the frame. That thirty seconds saves you coming back to a card full of blurry field edges and wondering what went wrong.
Step 3: Set It Up for the Kind of Photos You Want
The settings matter more than most people think. I run my WOSPORTS Mini on photo mode for most of the season, set to 30 megapixels, and I leave the trigger speed on the fast setting. The trigger speed is what catches a deer mid-step instead of a photo of an empty trail with a deer's back end leaving the frame.
Set the interval between photos to about five or ten seconds. Too short, and you get two hundred photos of the same doe standing there chewing. Too long, and you miss the buck that is following her by a minute. Five to ten seconds catches the whole group without burying your memory card.
The infrared night vision is the part I would not trade. The WOSPORTS uses IR LEDs, so it takes clear black and white photos in the dark with no visible flash. A white flash works too, but it teaches deer to avoid the spot. IR keeps the camera invisible, the deer keep acting normal, and you see the ones that move at night. If you want to watch a specific crossing in daylight, the video mode is handy, but for scouting I use the motion trigger and let the camera sleep the rest of the time. I replace the batteries once in early October and once in late November, and I have never had a camera go dark on me. That saves batteries and card space.
Step 4: Check It Without Teaching the Deer
Here is the part I had to learn the hard way. The whole point of a camera is to keep you out of the woods, and then I kept walking into the woods to check it every three days. I was doing the exact thing the camera was supposed to stop. The deer on that ridge knew I was coming long before the camera ever caught them.
Now I check every two to three weeks, and I pick my approach. I come in from downwind when I can, I stay off the trail the camera watches, and I keep my boots out of the bedding area. On the way out, I never walk straight back to the truck. I loop around so my scent trail does not run through the bedding area. I also time the checks for mid-morning or early afternoon, when the deer are bedded and not likely to be standing in the field watching me.
Every check is quick. Swap the card, check the batteries, re-clear any grass that has grown up, and get out. I look at the photos back at the truck or at home, not on the spot. If a camera that was producing photos suddenly goes quiet for a couple of weeks, the spot has probably gone cold. The deer are not gone from the property. They have shifted to a different food source or a different bedding area. That is when I move the camera, and the quiet spell tells me something useful too.
Step 5: Read the Photos and Make a Plan
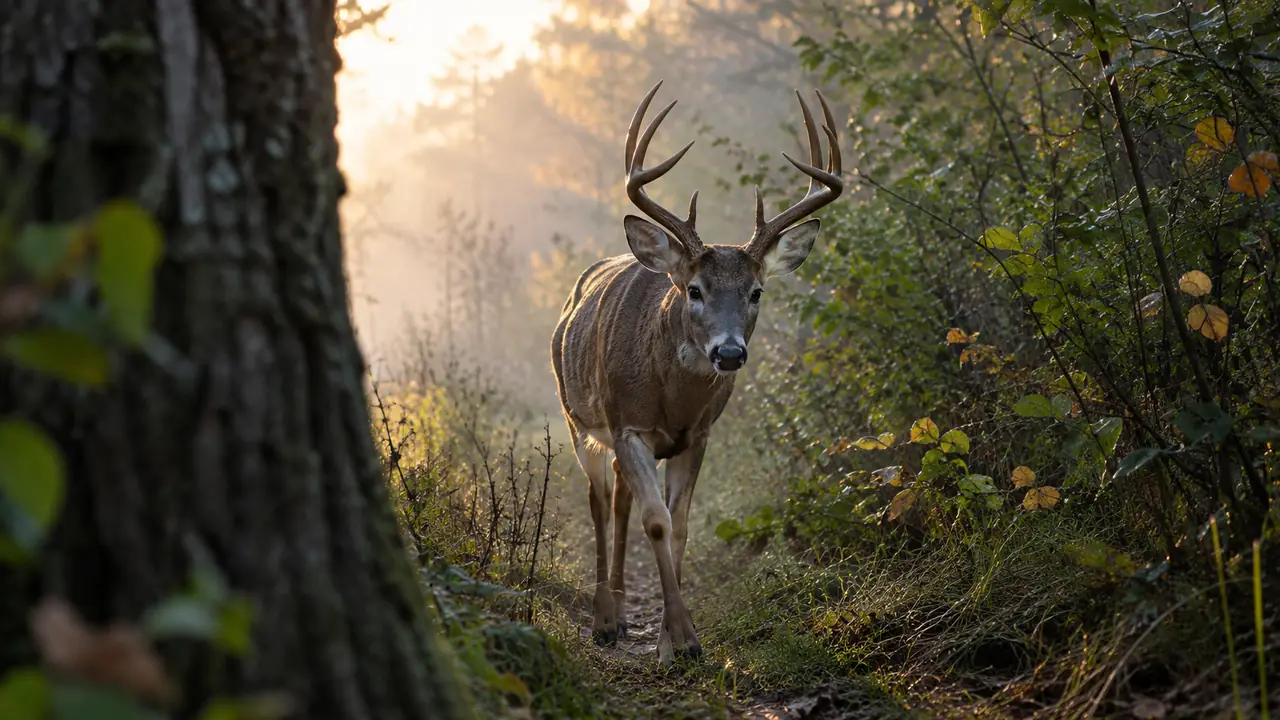
The photos are only useful if you read them like a hunter instead of a spectator. I look for three things: which deer are using the area, which direction they are traveling, and what time they are moving. A buck that shows up at two in the morning on a random night is not a buck you can hunt. A buck that crosses the same field edge at first light three mornings a week is a buck you can plan around.
I keep a simple note in my phone for each camera. Date, deer, direction, time. After two weeks, the pattern is right there in front of you. That is when I decide where the stand goes, and then I get out and leave the area alone until I hunt it. The camera stays up and keeps reporting, but I do not go back in just to look.
One more thing. Do not overthink the advice you read online about buck to doe ratios and moon phases. What matters is what is on your property. If the photos show a shooter using the area in daylight, hunt that. If all you see is does and small bucks, hunt the does and let the small bucks walk. The camera tells you what you have. Your job is to act on it. The camera does not replace your hunting. It replaces the guessing.
The Mistakes I Made First
I hung my first trail camera on the hottest rub I could find and checked it every other day. The result was a card full of raccoons, one photo of my own truck, and not a single daylight buck. The rub was real. The problem was that I was checking the camera so often that the deer shifted their whole routine to nighttime.
The second mistake was putting the camera too close to where I planned to hang my stand. The camera caught the buck, and then I walked in to hang the stand and never saw him again. If you plan to hunt a spot, keep the camera far enough away that your setup work does not ruin the spot.
The last one is simple. I did not write anything down. I told myself I would remember what the photos showed, and by October I had mixed up three cameras and two properties. Now every card goes in a labeled bag and every camera has a note in my phone. It takes thirty seconds and it saves you a whole season of second-guessing yourself. Future you will appreciate it.
What Else Helps
A few small things make the whole setup better. I carry a spare set of batteries and a spare card in the truck, because a camera that dies in week two tells you nothing. I learned that the hard way when a camera died on the best week of October. I use a cable lock on the camera, too. Theft happens, and a cable lock is cheap insurance against losing a season of scouting.
I also pin the camera location in my phone. A camera hidden well is also a camera you cannot find again, and I have done that more than once. And I angle the camera slightly downhill if the tree allows it, so rain sheds off the housing instead of pooling on the lens. The WOSPORTS is waterproof, but standing water will find its way into anything given enough years.
Finally, keep your own scent off the setup. I handle the camera with gloves when I can, and I do not hang it right on the trail I plan to use on the way to the stand. The camera should be a ghost on that property, and so should you.
I learned more about the deer on that ridge in two weeks of camera photos than I did in the five seasons before it. That is not an exaggeration, and it is why I will not scout without one anymore.
Stop guessing. Start knowing.
The WOSPORTS Mini Trail Camera does one job and does it well. It shows you the deer on your land without putting you in the woods. Set it up once, check it every couple of weeks, and hunt the patterns it reveals.
Amazon Check Today's Price on Amazon →